Introduction
Laying sod is one quick way to ensure you achieve a beautiful and healthy lawn. However, it’s very important that you go about installing the sod properly to reap the full benefits of a new lawn. As a homeowner, It is best to install turf when you receive it, or store it in a shaded place until you can install it. This helps maintain the sod quality and prevents it from drying out and rotting before application.
We detailed in our previous blog – the important steps for preparing your project area. In this blog, we will continue the sod installation process and cover a few tips while also providing some advice when it comes to installing the sod.

Prepare the Project Area
In our previous blog, we highlighted some crucial tips on preparing your yard for new sod – you can find this blog here. For convenience however, we can break it down into the following topics: Removing weeds/clearing the area, preparing your soil, installing irrigation, and measuring your area. Preparing your project area is very important for the success of your sod – and ultimately, that just saves time, and allows you to enjoy the benefits of your yard sooner!
Unroll Turf
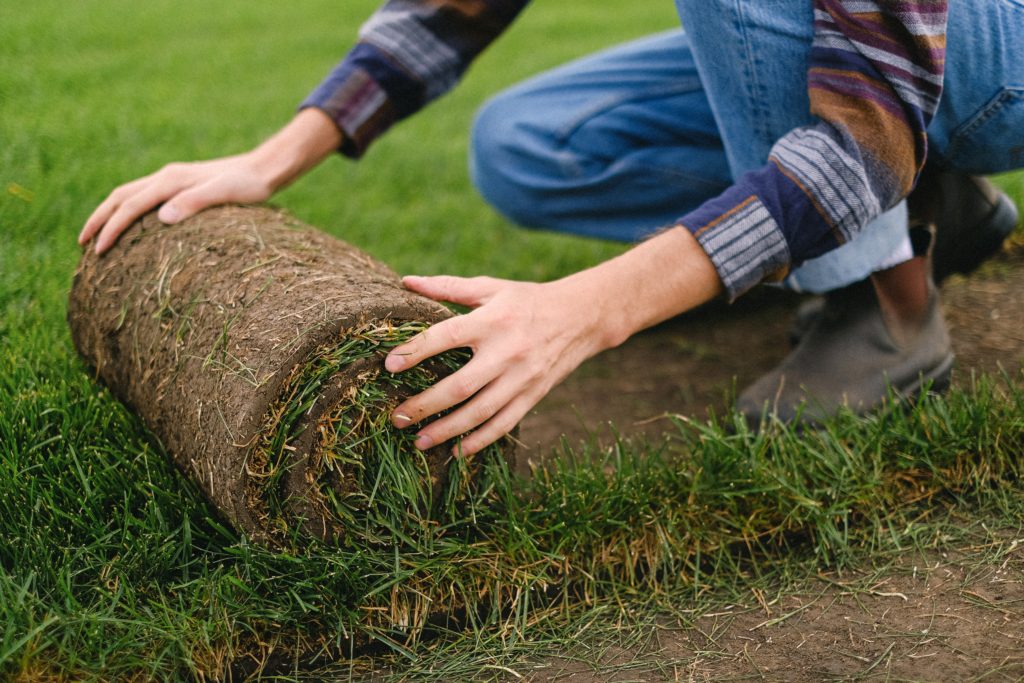
Once you have smoothed out the area, you can begin by unrolling the turf. It’s important to lay the turf along straight edges; such as starting from a driveway. Unroll the turf on the longest landscaping area – this is making sure that the sod is fully exposed to the soil beneath it, so it has the best chance of adapting to the soil.
Lay Turf in Rows
Work with the pieces, laying edge to edge and flattening them as you go. Using a utility knife if necessary to cut pieces that are in uneven areas within your project area. Be sure to smooth out footprints in the dirt as you walk, and place the sod strategically so you avoid walking over it as you continue to place the remainder of the sod.

Create Tight Seems
While you continue to lay your turf, ensure that the pieces lay flush against each other without any overlapping. You will want to prevent any gaps as well – so be observant that each piece is well aligned to one another. It’s also important to note that you will get better water retention if you lay sod horizontally, rather than vertically, if you have a sloped property. As mentioned before, it’s important to not walk on your placed sod as your weight can disrupt the placement and shift the sod to create gaps.
Roll Out/Press Down the New Sod

Once you have finished the placement, cutting and rearranging of the sod – it’s time to fully press it into the soil. The purpose of this is to achieve a tight connection between the sod and soil; this can be easily achieved with a lawn roller. After your rolling is complete, it’s best to limit the traffic on your newly laid sod to ensure it establishes well – this includes children and pets.
Water, Water, Water
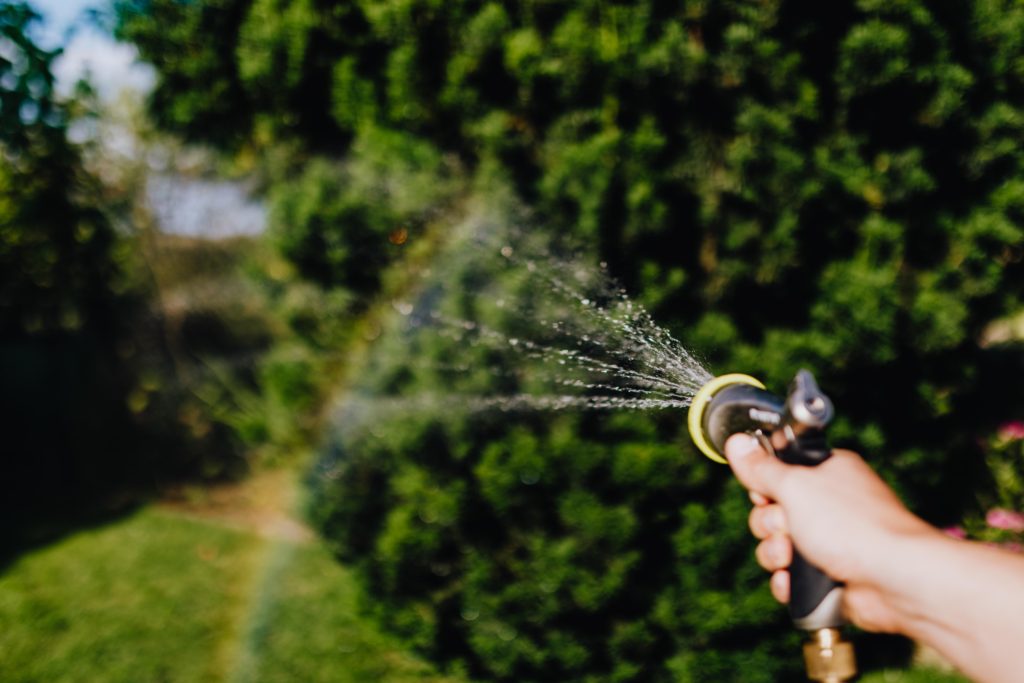
Did we make it clear you need to water your sod well? Of course you don’t want puddles forming on the newly laid sod, however, you’ll definitely want to water daily to encourage deep root growth. After the first week of active watering, you can slowly decrease the watering to every other day – of course, accounting for rainfall as well. Watering your newly laid sod actively is the real secret to achieving healthy and lush grass.

Conclusion
No matter the case, or size of your project this year – Lavington Turf Farms is here to help! We provide Okanagan drought tolerant turf & sod that’s customizable for your project – whatever that entails. But, if you find that your project is too large, we also professionally install turf for your project – contact us for a quote today, we are always happy to answer any questions!
Service Area
We proudly serve the following areas: Vernon, Coldstream, Lumby, Salmon Arm, Sorrento, Revelstoke, Kamloops, Kelowna, Penticton, Kootenays, and Caribou, all the way to the USA Border.
For more information or a free quote for your project, please visit this page on our website.