With the right steps, the daunting task of laying turf on a slop becomes much less intimidating. This guide will take you through each step to ensure that you end up with a lush and stable lawn that will last for years to come.
Step 1: Assess the Slope and Plan
Start by understanding what you’re working with:
- Measure the Gradient: Use a level or inclinometer to determine how steep the slope is. If it’s more than 10%, you might need extra reinforcement.
- Check Drainage: Look at how water flows during rain. Poor drainage can wash away your turf, so plan for solutions like French drains if necessary.
- Choose the Right Turf: Pick a hardy, erosion-resistant variety of turf. Ask your supplier for options suited for sloped areas, especially those with strong root systems.
Step 2: Prepare the Ground
Good preparation sets the stage for success. Here’s how to get started:
- Clear the Area: Remove existing grass, weeds, rocks, and debris. You want a clean slate. Use a garden spade or mechanical turf cutter to strip the area down to bare soil.
- Level the Soil: Rake the soil to create an even surface. Don’t try to flatten the slope; just ensure that there are no dips or bumps.
- Improve Soil Quality: Loosen the soil using a garden fork, especially if it’s compacted. Mix in compost or a good-quality topsoil to improve nutrient levels and water retention.
- Firm the Base: To help prevent the turf from sinking or shifting, walk over the soil or use a roller to firm it up.
Step 3: Lay the Turf
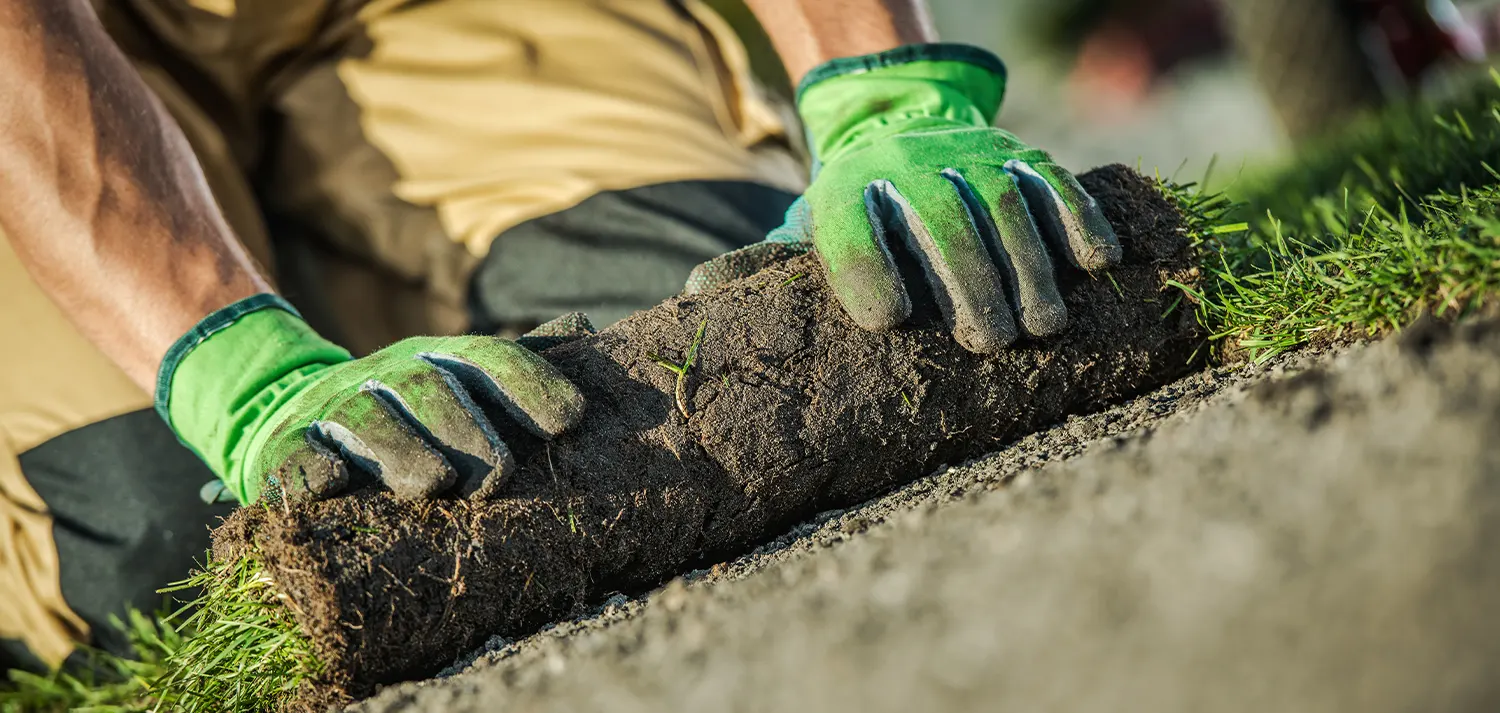
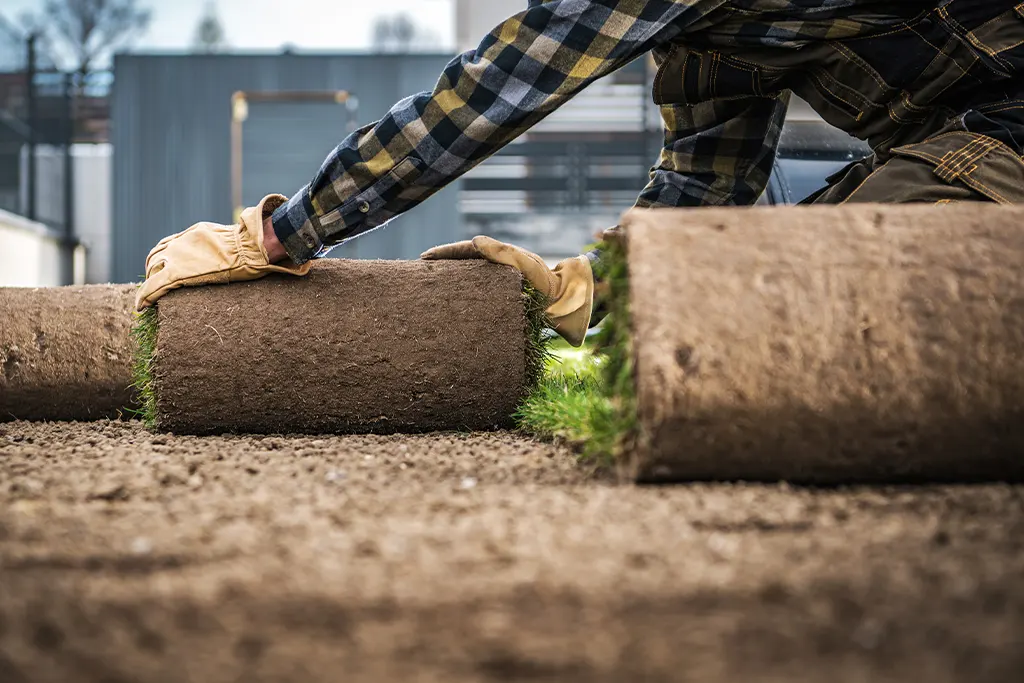
- Start at the Bottom: Begin at the lowest point of the lawn and lay the turf strips horizontally. This ensures stability and prevents the pieces from sliding down.
- Position and Overlap: Place the edges of the turf strips tightly together without gaps. However, make sure that you aren’t overlapping too much, as that can create uneven layers throughout the lawn.
- Secure the Turf: Use biodegradable stakes or pins to hold the turf in place. Place them every 2–3 feet along the edges and in the middle of each strip, especially if the slope is steep.
- Trim as Needed: Use a sharp knife or spade to cut the turf to fit curves or edges. Being precise to avoid leaving exposed soil is essential.
- Stagger the Seams: When laying additional rows, offset the seams of the strips, similar to a brick pattern. Staggering the seams improves stability and reduces erosion risks.

Step 4: Water and Care for the Turf
Proper watering and care during the first few weeks are critical:
Water Immediately: After laying each section, water it thoroughly. Saturate the soil to help the turf bond and root quickly.
Water Regularly: Keep the turf consistently moist, but avoid overwatering, which can cause runoff. A soaker hose or sprinkler with low pressure works best for slopes.
Protect Against Runoff: Water gently to prevent the turf from shifting. Consider watering in short intervals instead of all at once.Monitor Rooting: After 2–3 weeks, check if the turf has rooted by gently tugging on a corner. If it resists, the roots are establishing well.
Step 5: Maintain Your Sloped Lawn
Once your turf is in place, regular maintenance keeps it healthy and secure:
Mow Your Lawn Carefully:
It usually takes between 2-3 weeks for the turf to become rooted firmly; only mow after this time. When mowing, use a lightweight mower and mow across the slope, not up and down. Mowing this way will reduce stress on the turf and mower.
Fertilize:
Apply a balanced fertilizer about six weeks after laying the turf. Repeat every 6–8 weeks during the growing season.
Inspect for Erosion:
Check regularly for bare spots or areas where the turf might be shifting. Re-secure any loose pieces immediately.
Repair Damage Quickly:
Fill in any bare patches with seed or replacement turf to prevent weeds and erosion from taking hold.
Troubleshooting Common Issues
- Turf Sliding: Re-anchor the turf with additional stakes or pins and water lightly to help the roots re-establish.
- Uneven Growth: Adjust watering to ensure consistent moisture across the slope.
- Bald Spots: Patch these areas quickly with fresh turf or seed.
Ready to Turf Your Slope?
By assessing your site, preparing the ground, and following a methodical process, you can create a stunning lawn that stays in place. Once your lawn has been put in place, keep up on regular maintenance to ensure the results last for years.
For expert advice, top-quality turf, and professional turf-laying services, contact Lavington Turf Farms today.